Today, I’m talking about how to use Canva gradient backgrounds to make your website images pop! I love to use this feature to make knockout header images, but the applications of gradients are pretty endless.
This is a very visual tutorial. So if you don’t have a ton of experience creating Canva gradient backgrounds specificially, or are new to Canva in general, I highly recommend you check out the YouTube video below to get the most out of what I have to share with you.
Let’s Get Started With Canva Gradient Backgrounds
Here’s the first example. I took a photo of a woman from Canva’s stock. The original photo was too short and couldn’t fill a width of 1920px without making the model too large and awkward. (And I do recommend the image be 1920px wide at the least).
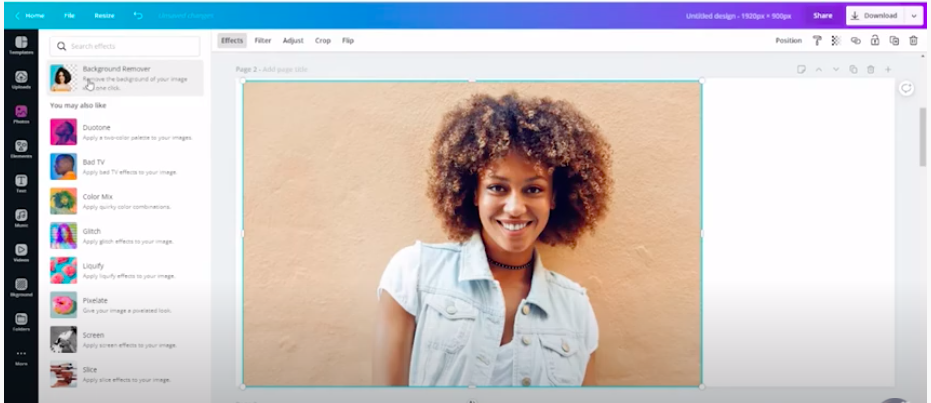
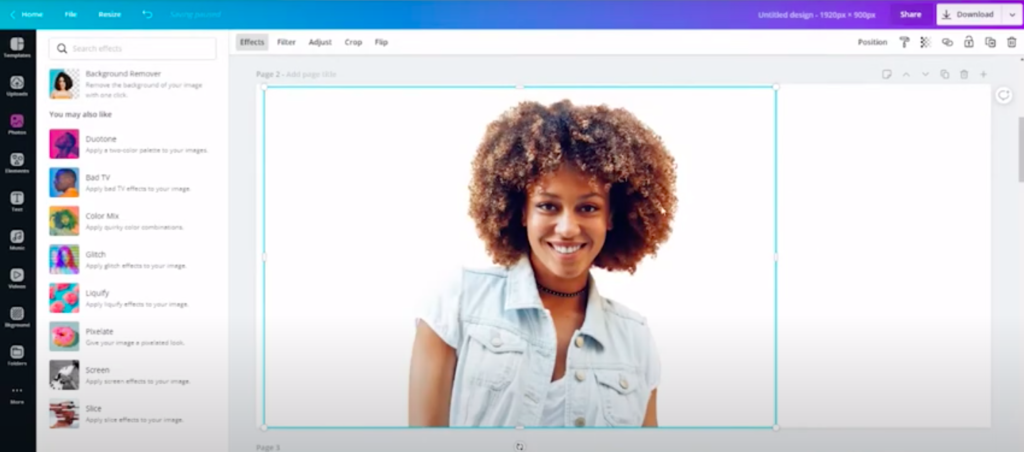
I placed her image on a 19×20 frame and removed the background by clicking “Background remover” under “Effects.” That leaves her without the background on a clean frame to work some magic on.
Time for Gradients
The background in my final image is achieved by use of Canva gradients. The gradients can be found in the Elements section of Canva.
Here’s where I really encourage you to watch the video because you’re going to be able to actually see what I’m about to explain. (Watching the video would also help you create a Pinterest Mood Board!)
Once I’ve chosen a color for the background gradient, I crop and position the gradient to manipulate its look until I get the effect I’m after. You may have to copy and paste the gradient in different positions or use the arrow keys on your keyboard to get the look you’re going for and achieve cohesiveness.
And you can use complementary elements and colors to add depth to the background such as the lighter-shaded blurbs on the corners below.
Then, I go back and reposition the focus of the photo (the woman) to be in front of the gradient in a position that creates a lot of negative space to write or place any copy or graphics to your header.
Using a Gradient for a Fading Effect
In the second example, I use a gradient to create a fading effect that blends into a more solid photo.
The left side of the image is perfect for adding text and the eye gradually shifts to the desired picture.
Creating a Panoramic Effect
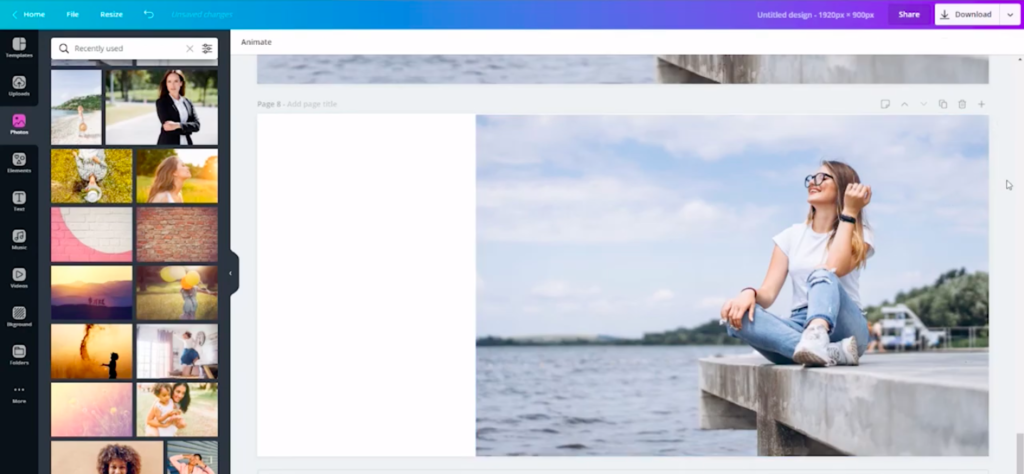
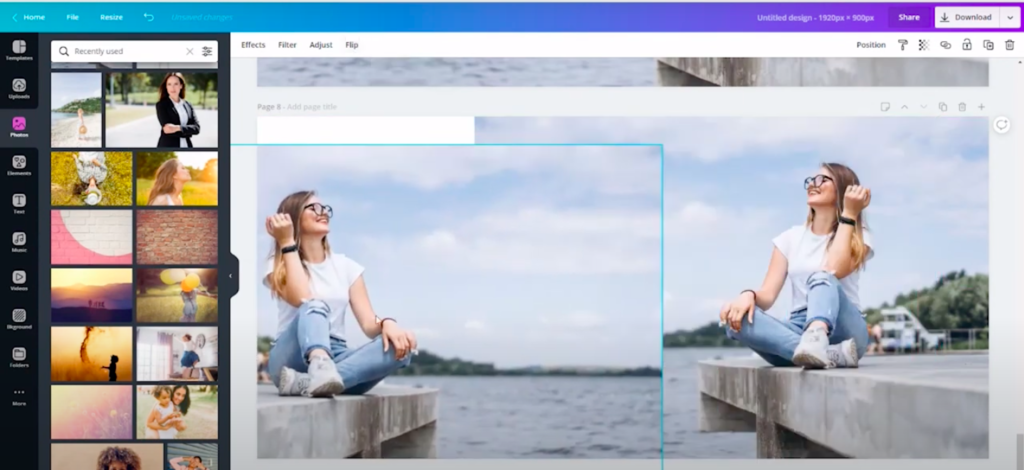
Another great way to use gradients for your wide image for a header, is to double the picture to give it a more panoramic feel.
This doesn’t work well for every photo, but if you find one that has imagery that can really be extended, here’s how you would do this.
After you select the image you want to use, you can make a copy and click on “flip” on the top left corner of the workspace. You’d then drag and position the photo so that it looks like a continuation of the first.
Be careful to check whether or not that symmetry is obvious or highly noticeable and adjust accordingly. When done carefully, this hack makes it look like the picture is expanded or more panoramic than it actually is.
Downloading Your Header
When you download this newly created image for your website header, you’re going to want to compress the file so it’s not a huge file.
Then upload to the image to your website header and add text for an amazing look!
I hope that this helped you on your branding path. As always, if you have any questions leave them below!
