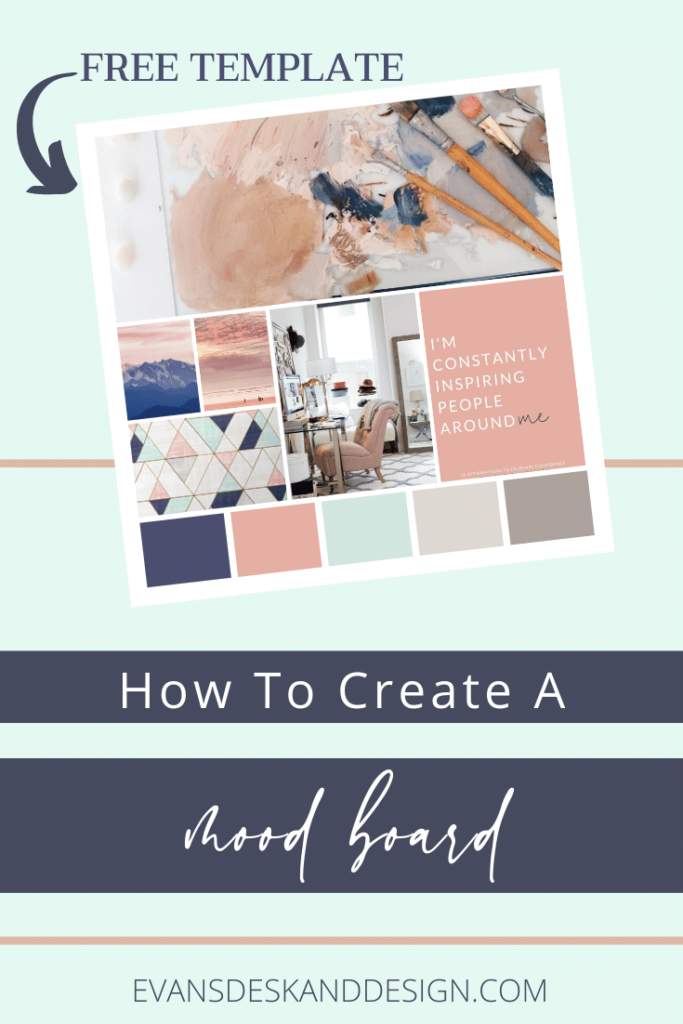
We are on our final leg of creating your mood board! If you did not see the first two posts you can find the first one here and the second one here. In my last post I showed you how to find your inspiration on Pinterest. This week, we are going to hone an and finalize your mood board. Watch the video below or keep reading!
HOW TO CREATE A MOOD BOARD
First, go to that pinterest board we created and download 5-8 images that you think really represent the colors and tone you are going for.
Then go to canva. If you don’t have an account, create one and thank me later. Canva is an amazing tool for creating graphics for free (however it is not the tool for creating your logo, please don’t do that!). Upload those images into canva and while it is uploading go to the elements and search through the grids to find one you like. If you would rather use my template, you can use it here!
Once you find the grid you like (or if you are using mine) you will plug in the photos that you uploaded. You can click the “crop” button and adjust the images to your liking. Then you want to add the square element for your colors. I like to have 5 colors in my branding guides! Using the eyedropper extention tool, you can find the color codes and change the squares to match!
I hoped this helped you learn how to create a mood board!
